Bread and bread rolls are a big thing in Germany. Few countries have as many different types of breads and rolls as we do. And there is a whole genre of bread baking websites that teach you everything you need to know about the perfect artisanal bread.
There's only one problem: I utterly dislike them. The casual use of terminology that requires use of a dictionary, the complicated 150-step instructions and the time it takes until I have the end result.

When it comes to rolls, none of the recipes on these sites satisfy my needs. I don't want to make my own bread rolls if it's quicker, cheaper and more convenient to drive to a baker an hour away than it is to make them. I want quick, I want easy and I don't want to have to spend the rest of the day cleaning my kitchen.
We like rolls for breakfast, so they can't need a lot of time in the morning or it's not going to happen. Thankfully, after a lot of searching, we found the perfect recipe and after this has been a huge success on our German blog already, we're happy to present an English version.
Simple bread rolls over night
The secret of this revolutionary method is to prepare the dough in the evening and have it ready in the morning. Now, this doesn't work with every dough - but this revolutionary "fridge dough" really changed our lives here. The bread rolls rival the most delicious artisanal bakery products - and it takes 5 minutes in the evening and 30 minutes (including baking time) in the morning to have them ready. Delicious smell of fresh bread included.
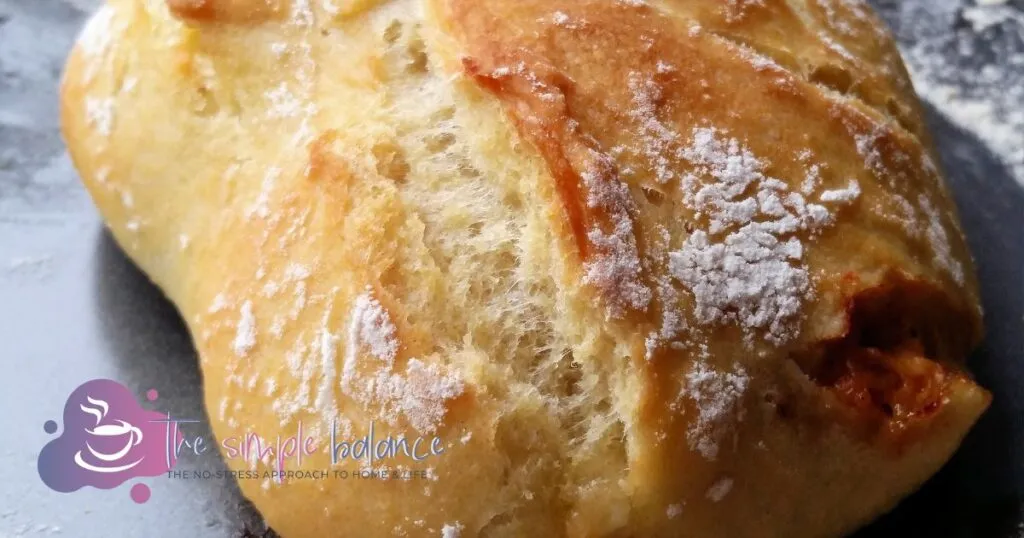
They are fluffy and light on the inside, with a nice, but not too dense, crunch on the outside. And nobody had to get up at 2am to make them.
So what's the secret?
The few ingredients are simply stirred with a fork, no kneading necessary. The resulting dough spends the night in the fridge. It's as simple as it sounds. And while you're enjoying your dreams, the dough triples in volume and develops its unique aroma.
When you're ready in the morning, so is the dough. With just a few steps you can now turn it into rolls, which you'll stare at with a mix of pride and disbelief.
The easy overnight bread roll principle
The only ingredients are flour, salt, dry yeast and water. You mix everything in a medium sized bowl (about a gallon in volume) using just a fork, until a wet, sticky dough forms that doesn't hold its shape.
All you need to do now is wait. Cover the bowl and leave the dough out at room temperature for 2-3 hours before putting it in the fridge. All the things that usually happen through excessive kneading (which is mainly the formation of gluten chains in the dough) instead happens through the passage of time.
You can even keep the dough in the fridge for up to two weeks. And you can use it for more than just rolls. But that's a topic for another post.
Baking the artisanal bread rolls
In the morning, all you need to do is a little shaping and it's off to the oven. While you set the breakfast table or enjoy a nice hot shower, the quick bread rolls get ready in the oven and your home is filled with the delicious smell of fresh bread.
So what are you waiting for? Just get the ingredients and follow the instructions in the recipe card. Soon, you'll be able to look forward to wonderful rolls for breakfast.
Easy artisanal overnight bread rolls

The most delicious artisanal bread rolls with no kneading and only four ingredients. Great for breakfast or any bread roll emergency you can think of.
Ingredients
- 1 pound flour (wheat or spelt)
- 2 teaspoon dry yeast
- 1 ¼ teaspoon salt
- 1 ⅓ cups water
- some extra flour for dusting
- 5 ice cubes
Instructions
- In the evening, mix flour, yeast, and salt in a medium-sized bowl (about a gallon in volume) and add water. Using just a fork, mix until it forms a wet, sticky dough. Do not knead, just make sure it is mixed well.
- Cover the bowl and leave the dough at room temperature for 2-3 hours, then place it in the fridge overe night
- In the morning, preheat the oven to 440°F/230°C
- Line a tray with greaseproof paper and dust the dough with some flour
- Pull tomato-sized pieces of dough from the bowl and fold the edges underneath to seal until a round, roll-shaped piece has formed. Use some extra flour if the dough sticks to the hands.
- Place on the baking tray and repeat for as many rolls as you wish to make
- When the over has reached the necessary temperature, use a pair of scissors to make a cross-shaped incision at the top of the roll.
- Place the baking tray in the oven and put five ice cubes in the bottom of the oven (these will turn into steam and help create a nice crust - you can also use a water-filled pan at the bottom of the oven if you're out of ice)
- Bake for 20 - 25 minutes, until golden brown.
- Leave to cool on a rack and enjoy
Notes
If you use whole grain or other types of flour, you may need to adjust the water contents and optionally add some gluten. I recommend that you start with plain white flour and get a feel for the right consistency before you experiment with other flour types.
Nutrition Information:
Yield:
12Serving Size:
1Amount Per Serving: Calories: 182Total Fat: 1gSaturated Fat: 0gTrans Fat: 0gUnsaturated Fat: 0gCholesterol: 0mgSodium: 730mgCarbohydrates: 38gFiber: 2gSugar: 0gProtein: 6g
These nutritional values were automatically calculated and may not be accurate. They are provided as an additional service.


Js
Tuesday 23rd of July 2024
Thank you for this recipe. I wanted to ask about the salt portion. Is it supposed to be tablespoon or teaspoon? I used the measurements. They came out way too salty. I presume because it was supposed to be teaspoon not tablespoons??? Thankfully, even though I made them for brunch, I tasted them before serving. Again, thank you for the recipe.
Holger Rabbach
Thursday 15th of August 2024
You are right, it was supposed to be in teaspoons, not sure what happened there. Obviously tastes vary, so feel free to use less or more salt. It should have no adverse effect on the other properties of the dough.
Cassie
Sunday 28th of January 2024
These are so salty and didn’t rise for me much. Maybe you meant teaspoon salt? I weighed my flour and it was also very dry with that amount of water. Not sure where I went wrong.
Holger Rabbach
Thursday 15th of August 2024
You are right about the salt, for some reason the recipe tool had changed it to tablespoons instead of teaspoons. Consistency can vary based on many factors, such as the exact brand of flour, humidity or even the altitude at which you live. So you may need to add a little extra water to make the dough more wet - too dry is definitely going to affect its ability to rise properly overnight.
Grainne
Wednesday 6th of December 2023
Does the recipe really need 2 tbsp of yeast and 1 1/4 tbsp of salt, or should it be tsp?
Holger Rabbach
Thursday 15th of August 2024
For some reason our recipe tool changed teaspoons to tablespoons - not a problem with the yeast, but it should definitely be less salt.
Kim
Wednesday 22nd of November 2023
I made these for our early thanksgiving most like it, I used sprouted wheat and vital wheat gluten. Those who dislike wheat didn’t care for it. I give it a 10 out of 10 will make it again!