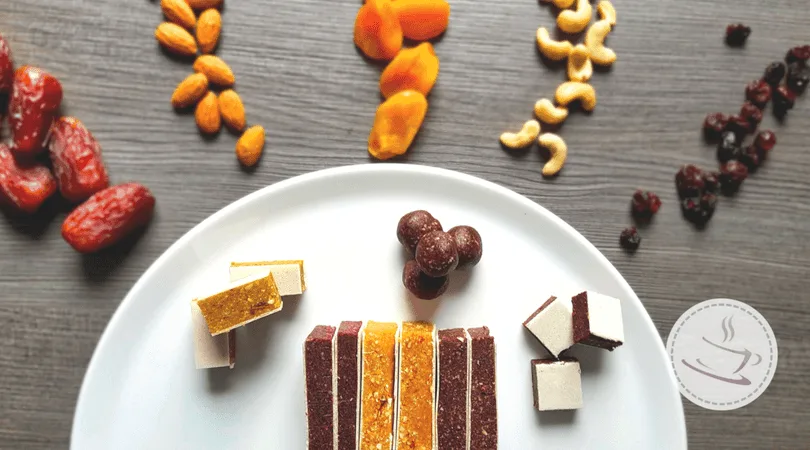
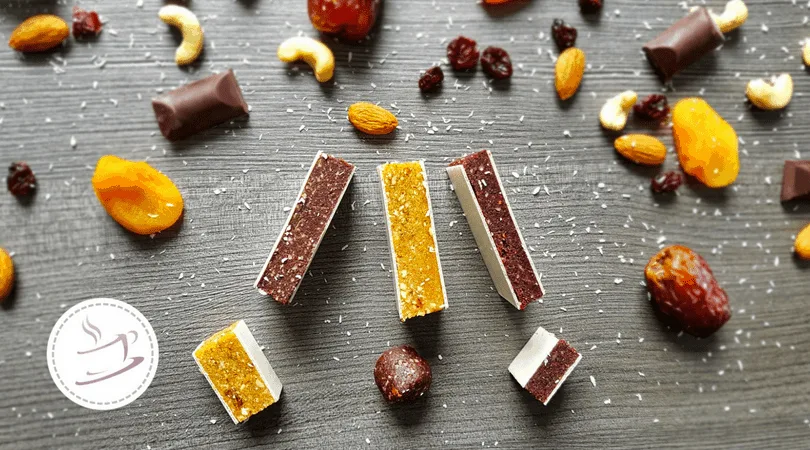
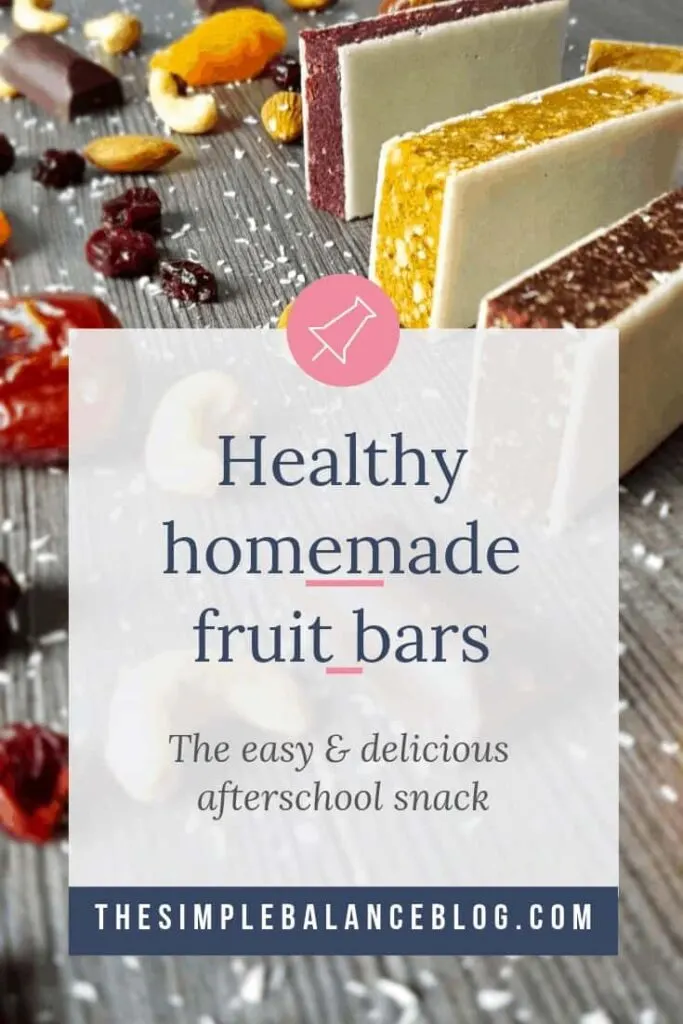
Ever thought about making your own fruit bars? It’s really easy! I’ll show you how to enjoy your own creations with one basic recipe and 3 variations that our family loves.

Making my own fruit bars never ever entered my mind. Just how would those ingredients magically transform into a fruit bar anyway? It’s neither dry and crumbly nor moist and sticky.
So my enthusiasm went through the roof when I found out: I can easily make those delicious treats at home. And for a fraction of the cost.
In this article, I will show you how to make your own Lara bars with a simple basic recipe. And I’ll offer you three flavors in case you’re not keen on experimenting.
Basics of fruit bar production
All you need is a food processor or high-powered blender. Only have a rather basic blender? Give it a shot with a quarter of the amount.
In terms of ingredients, it’s all pretty straightforward. So easy, in fact, that I frequently wonder why I’m not making them once a week!
- Dates are the main ingredient. They produce a thick, sweet paste and act as the glue.
- Nuts add a bit of crunch and nicely counter the otherwise overwhelming sweetness of the dates.
- Flavor-adding ingredients: This is where you can go wild – or clean out your pantry shelves… Dried fruit, seeds, chocolate chips, or freeze-dried berries add tons of flavor. Coconut flakes are great for adding volume. For even more of a personal touch, consider adding cocoa, vanilla, cinnamon, lemon juice or instant espresso.
My secret ingredient for even more nutrients
When making these for my kids, I love adding a scoop of smoothie powder! They contain freeze-dried greens, berries and fruits and work great as nutrient boosts.
For easy reference, simply stick to this rule: All three components – dates, nuts, and flavoring – are used in equal parts.

How to make your own Lara bars
Choosing your ingredients is the hardest part. After that, it’s only a matter of throwing them into your food processor.
Tip: Add nuts first because they keep the mixture from sticking to the knives.
The goal is for the mixture to stick together when pressed between your fingers. It should not be soggy or gooey.
Too crumbly? Add one or two extra dates and process a few more rounds.
Sticky mess? Add a tablespoon of coconut flakes, oat flour or ground nuts.
Easy shaping of fruit bars
Cover the inside of a small casserole dish or baking sheet with cling film. Make sure there is plenty of extra on each side. We’ll need it to be folded back later. Fill in the mixture, using your fingers to distribute evenly. Now cover with the cling film.
Using a measuring cup, press the mixture further into the dish. The goal is to compact it and create a smooth surface.
Tip: An hour in the refrigerator makes cutting easier. But you can get away without it.
Finally, unwrap the top layer of cling film. Using the long sides as a handle, pull the entire block from the dish. or place a cutting board over it and turn it upside down.
Remove the rest of the cling film and cut into bars whichever size you like.

Extra tips for a perfect homemade fruit bars recipe
In Germany, most commercial fruit bars come between two layers of edible rice paper. They make them even easier to handle and nicely portable.
If you’d like to try this, get edible rice paper sheets from a baking supply store. Cut the sheets to fit and cover the top of the mixture.
Now turn it out onto the cutting board, rice paper side down. Cover the second side, pressing gently to make the sheets stick.
Now cut the bars into any size you like.
Cute little round ones
A very cute version uses round edible rice paper discs (about 2 inch diameter). Using an ice cream scoop, simply drop little mounds of fruit bar dough ono each disc. Cover with a second disc and gently press the mixture flat. Just like making an ice cream cookies sandwich.
Got time for a little more effort? Form the mixture into little balls. Due to the extra pressure from the outside, even slightly crumblier mixtures hold their shape well. And kids love them!
These bars will keep for a week in a closed container and at room temperature. I’ve also successfully stored them for a longer time in the refrigerator. (That is, accidentally, because I lost track of the contents of my fridge – again…)
The Simple Balance Tip
You’d like to have real food snack bars available? But your to-do list is already longer than your winter scarf? Here are several ways how self-care doesn’t get lost by the wayside:
#1 Friends to the rescue
Schedule some time with a friend to make a large batch together. You get to hang out and chat. And you’ll both end up with a stack of delicious fruit bars.
#2 Ask for help
Ask your husband, in-laws or a friend to watch the kids for an hour. Then listen to an audiobook or podcast while preparing these. You might even get to empty the dishwasher or enjoy a quiet cup of tea in the process!
#3 Easy first
Go for the easiest preparation method: No rolling into cute ball-sized bites. No rice paper. Just press into a large square and cut. Leave fancy for when you have the energy to do so.
#4 Go hunting
If none of the above are an option, check out your supermarket’s own brand snacks. They are usually much cheaper than popular brands.
Look for an ingredients list that reads like a recipe, preferably without flavoring. These make still great snacks for your family, even if you spend a little more than ingredients would cost.
Your time is worth money, too, you know!
You feel excited to try something new? Then go ahead and collect your ingredients!
Get inspired by my three most popular varieties and start creating your own fruit bar creations.
Your wallet, your children – and even your stomach on a super busy day – will thank you!
Last update on 2024-07-27 at 06:46 / As an Amazon Associate we earn from qualifying purchases. / Images from Amazon Product Advertising API
If you are interested in more articles that help you take some of the pressure off and allow you to enjoy everyday life more fully, then go ahead and sign up for my newsletter:
Fruit bars - one basic recipe and three variations

With just a few ingredients you can quickly recreate these delicious fruit bars - with or without a wafer!
Ingredients
- 1 cup dates
- 1 cup nuts
- 1 cup dried fruits/coconut flakes
Cranberry Walnut Bar
- 1 cup dates
- 1 cup walnuts
- 1 cup dried cranberries
Tropical
- 1 cup dates
- 1 1/3 cup cashews
- 1/4 cup dried pineapple
- 1/4 cup apple rings
- 2 tbsp dried mango
Chocolate mocha bars
- 1 cup dates
- 1/2 cup almonds
- 1/2 cup walnuts
- 1/2 cup coconut flakes
- 2 tbsp baking cocoa
- 1/2-1 tsp instant espresso
- 1 pinch of ground vanilla, optional
- Optional for all variations: Edible rice paper sheets or discs (about 2 inch in diameter)
Instructions
- Put all ingredients for the respective variant into the food processor and blend for 1-2 minutes (or longer, depending on the device) to a moist, crumbly mass that sticks when under pressure.
- Line a small casserole dish generously with cling film, leaving enough on the sides to later cover the top. Fill the mixture into the dish and, using your fingers, press it down. Fold over the overhanging film and press it down firmly, this time using a measuring cup.
- Optionally place in the refrigerator for one hour for easy cutting.
- Remove the cling film from the surface and cover with rice paper sheets, if desired. Turn onto a chopping board, cover the second side with rice paper and cut into bars. Enjoy!
Notes
The bars can be kept at room temperature for at least one week, and considerably longer in the refrigerator.


Sasha
Friday 15th of May 2020
I’m excited to try these as my little one loves the organic ones I buy him but it’s much nicer to make my own - do you think they would freeze ok? I could make a whole heap and just take one out in the morning for snack time?
Heidi Rabbach
Friday 15th of May 2020
Hmm, I've never tried freezing them (they're usually gone too quickly). But the water content should be so low that freezing should not be a problem. Maybe try with a small batch, and if you do, let us know how it went. They also keep nicely in the fridge for a couple of days.